CT12 CNC Press Brake System Operation Manual
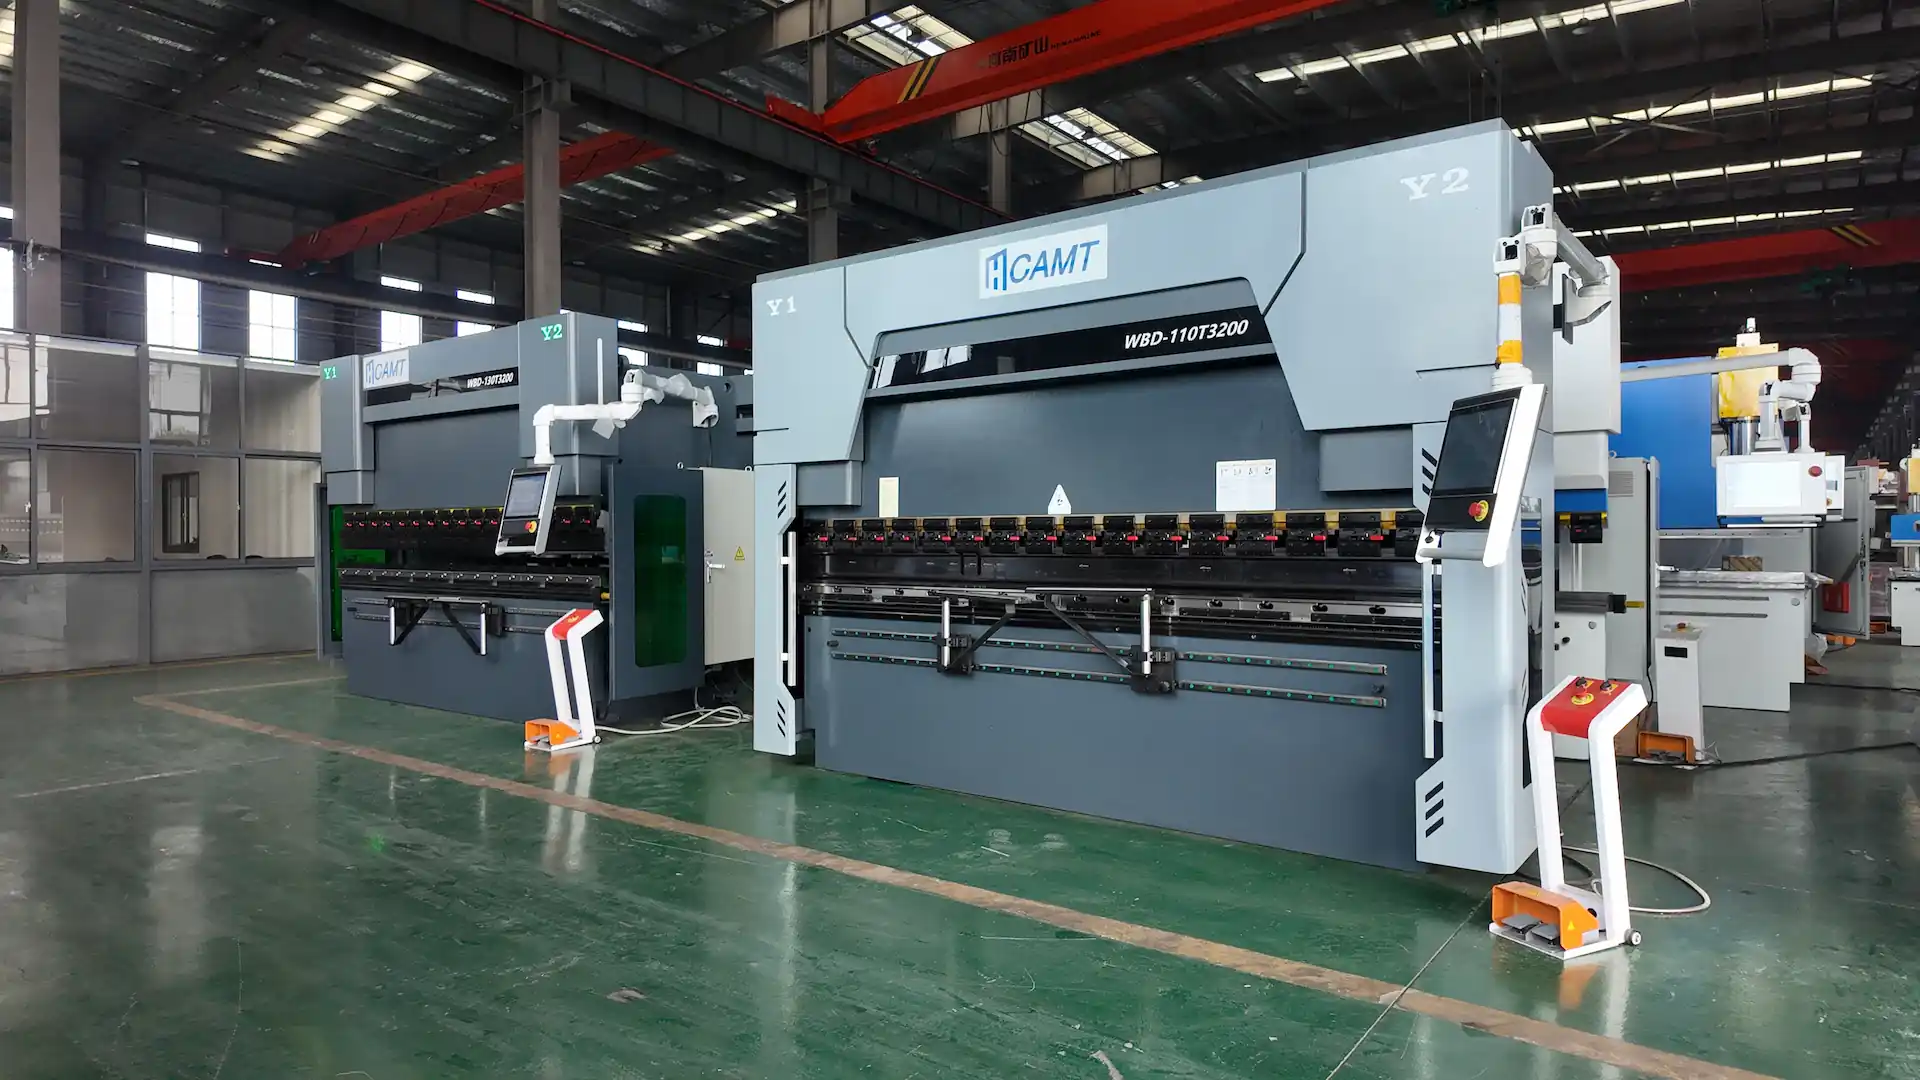
The CT12 CNC Press Brake Syetem, powered by the Cybelec CybTouch 12 PS controller, is an advanced CNC press brake designed for high-precision metal sheet bending. Widely used in mechanical processing, sheet metal fabrication, and industrial manufacturing, this system features intuitive touch-screen programming, automatic calculations for bend depth and pressure, and support for up to 4 axes. It enhances production efficiency by delivering accurate bends while minimizing errors, making it ideal for both beginners and experienced operators. In this comprehensive guide, we’ll cover everything from setup to troubleshooting, ensuring you can operate the CT12 CNC Press Brake System safely and effectively.

Introduction to the CT12 CNC Press Brake System
The CT12 CNC Press Brake System stands out in the world of CNC press brakes for its user-friendly interface and robust performance. Equipped with a 12-inch color TFT touchscreen, it supports graphical profile drawing, manual or automatic bend sequencing, and precise control over axes like Y1-Y2 (beam), X (back gauge), and R (optional). Key specifications include memory for 300 programs with up to 24 sequences each, automatic crowning and pressure management, and energy-saving Eco mode that stops the pump after inactivity.
This system excels in handling various materials, from steel to aluminum, with thicknesses up to standard limits based on machine capacity (e.g., 63T models for 2500mm lengths). It complies with EC safety directives and offers features like RFlink wireless communication for backups and diagnostics. Whether you’re fabricating automotive parts or custom metalwork, the CT12 CNC Press Brake System ensures high accuracy, faster cycle times, and reduced setup efforts compared to traditional press brakes.
CT12 CNC Press Brake System Operation Process
Operating the CT12 CNC Press Brake System involves a straightforward workflow. Follow these steps to achieve optimal results while prioritizing safety.
Equipment Startup: How to Power On and Initialize the CT12 CNC Press Brake System
Before starting, verify that the power supply is stable, all components are undamaged, and the hydraulic oil tank is filled to at least 2/3 capacity with anti-wear hydraulic oil.
1.Connect the machine to a 3-phase power source and attach the pedal switch.
2.Turn on the main power switch and wait for the system to load the touchscreen interface.
3.The CT12 CNC Press Brake System will automatically perform an indexation cycle to locate reference points for all axes. A “Machine is indexed” message confirms success.
4.Press and hold the pump start button for 2 seconds to activate the hydraulic system. The oil pump icon will turn green when ready.
5.Check the status page for axes indicators: green means in position, blue indicates movement, and red signals an error.
If the motor rotates anti-clockwise, press the emergency stop and swap two power wires to correct the direction. Always ensure the beam is at the top dead center (TDC) before proceeding.
Parameter Settings: Configuring Bends on the CT12 CNC Press Brake System Controller
Accurate parameters are key to quality bends. The CT12’s intuitive interface simplifies this.
1.From the main program page, select “New Program” and choose between TouchProfile (graphical), Numerical, or L-Alpha mode.
2.Input material type (e.g., steel), thickness, bending length, and sigma (strength) values. The system auto-calculates bend allowance, depth, and pressure.
3.Select punches and dies from the library (up to 100 each). For graphical mode, draw the profile directly on the screen by adding segments and angles.
4.Set back gauge positions, crowning (pressure or mechanical), and retraction values. Enable back gauge clearance if needed to avoid collisions during bends.
5.For advanced setups, use wizards for axes auto-tuning and indexing. Save the program with a unique number for easy recall.
The CT12 CNC Press Brake System supports inch/mm conversions and pop-up warnings for invalid entries, ensuring parameters match real-world conditions.
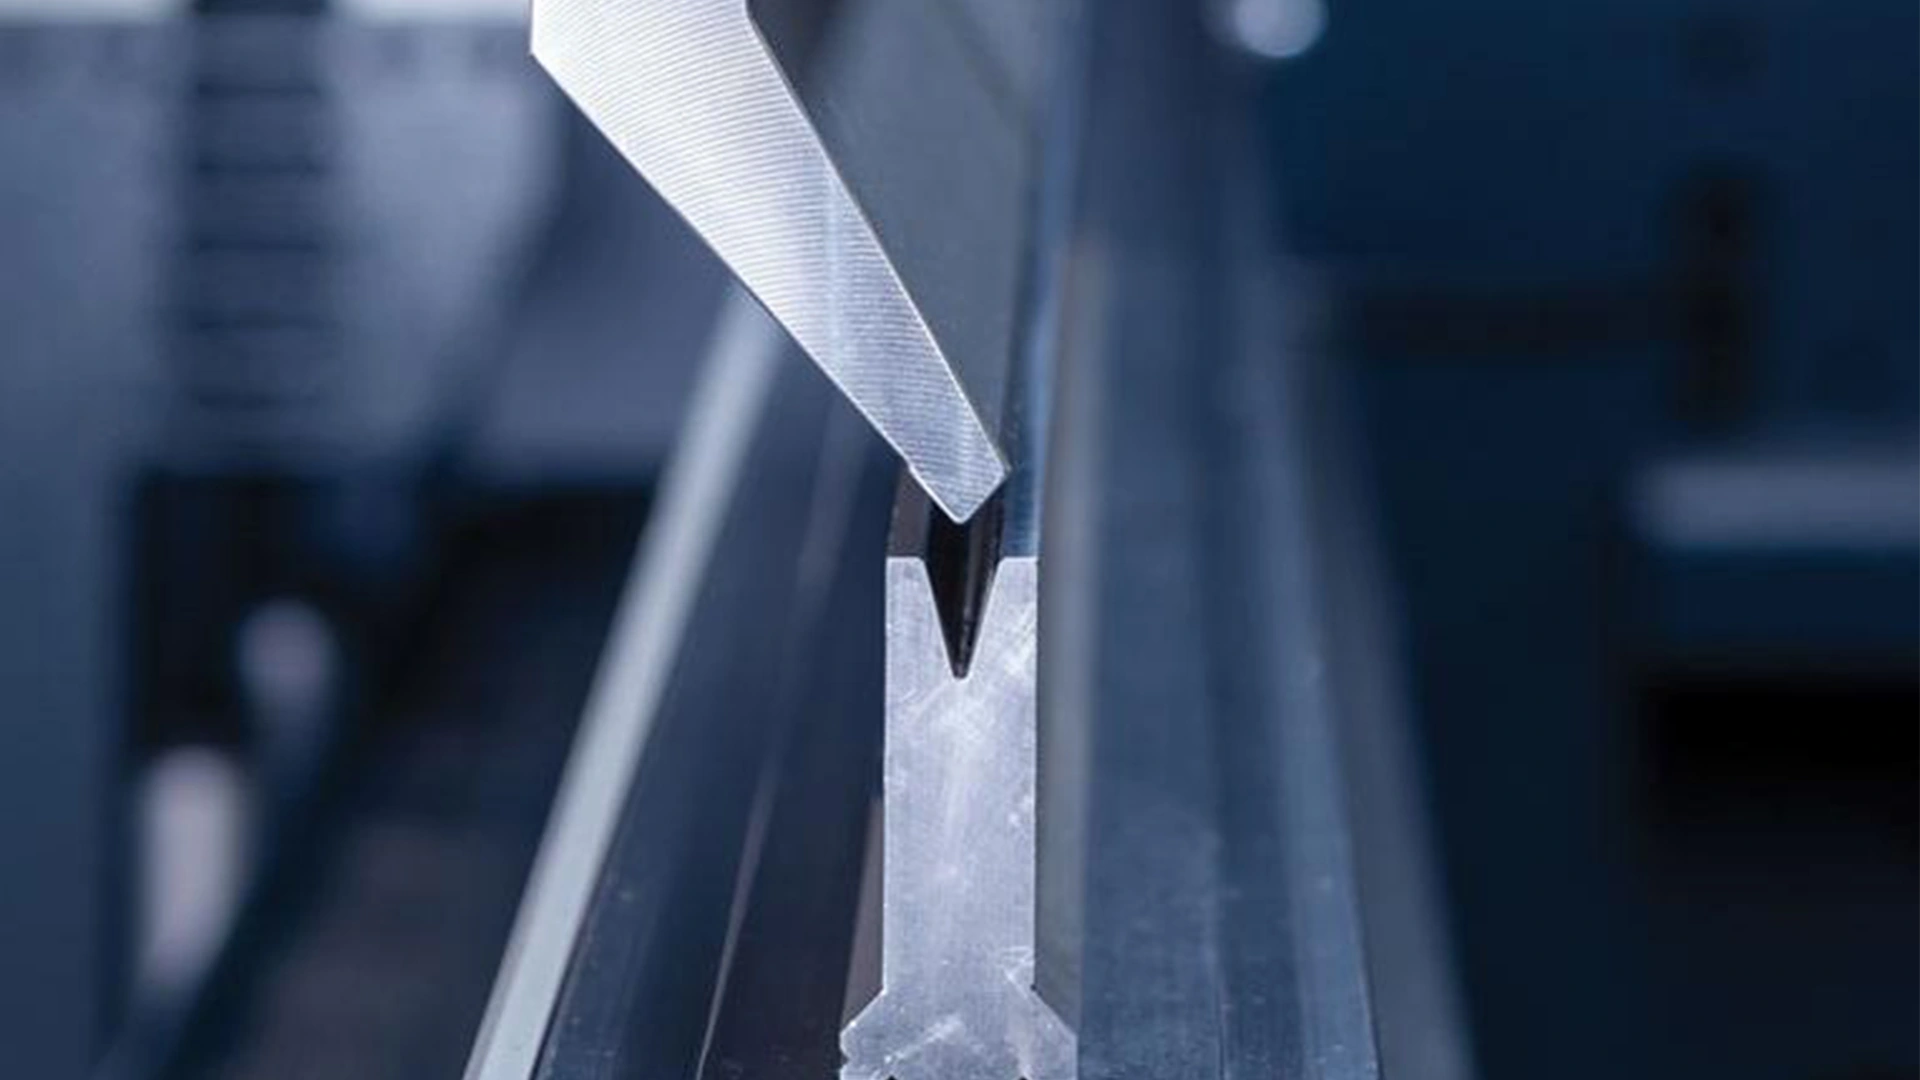
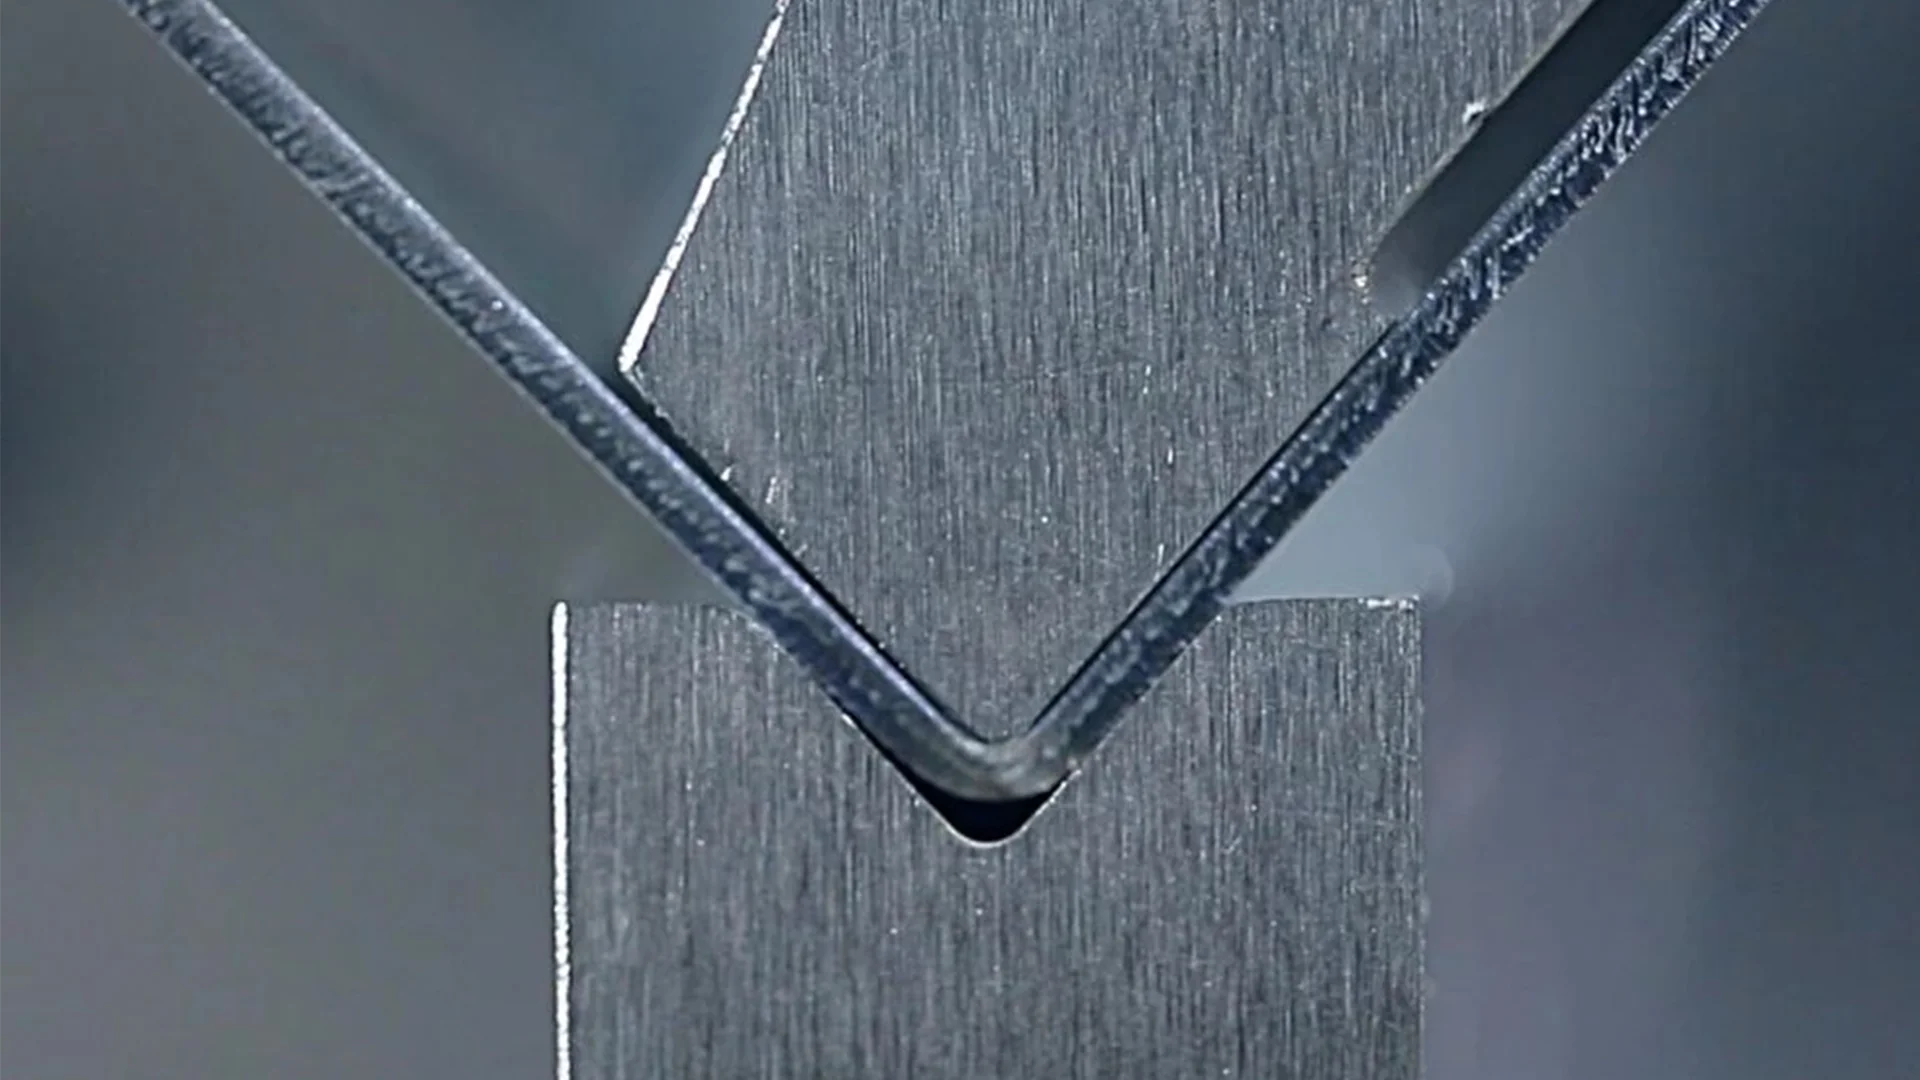
Bending Operation: Executing Precise Bends with the CT12 CNC Press Brake System
With parameters set, proceed to bending.
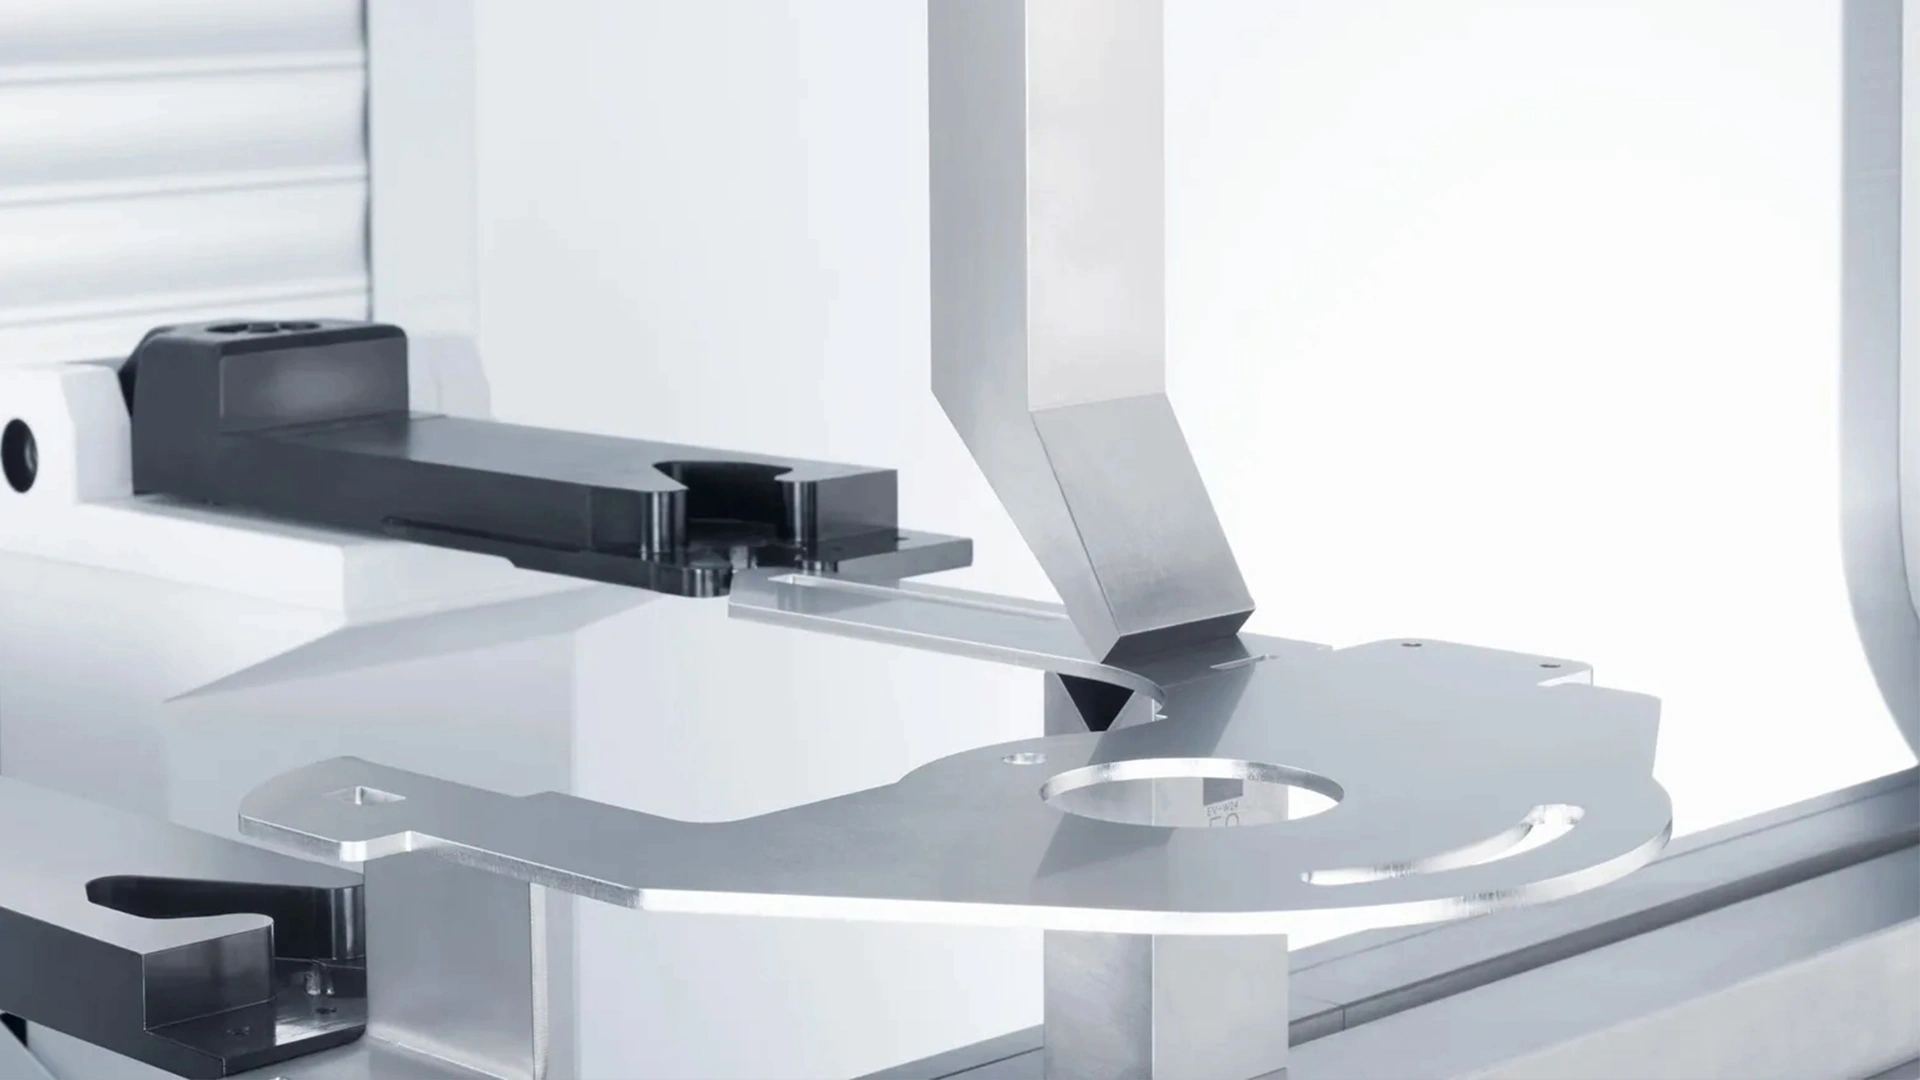
1.Load the metal sheet onto the worktable, aligning it against the back gauge fingers for accurate positioning.
2.Press “Auto” to move axes into position. The screen displays the bend sequence with 2D simulations.
3.Step on the foot pedal to lower the beam at high speed, switching to slow speed near the pinch point for safety.
4.Monitor the process via the touchscreen; the system handles angle corrections automatically if calibrated.
5.After each bend, the back gauge repositions for the next step. Complete all sequences, then remove the part and inspect for defects.
For large-radius bends, specify steps in the popup menu. Use the EasyBend feature for quick, one-off bends without full programming.
Equipment Shutdown: Safe Power-Off Procedures for the CT12 CNC Press Brake System
Proper shutdown extends machine life and saves energy.
1.Complete all operations and return the beam to TDC.
2.Step on the pedal to lower the punch against the die for secure parking.
3.Press the emergency stop buttons to halt all movement.
4.Turn off the power switch and disconnect the main supply.
5.Clean the machine with a damp cloth (no solvents) and check for leaks or wear.
Activate Eco mode in preferences to automate pump shutdown after idle periods.
Basic Operations of the CT12 CNC Press Brake System
Beyond the core process, master these fundamentals for everyday use.
1.Startup Check: Always verify oil levels, tool alignments, and safety guards before powering on.
2.Sheet Loading: Place material flat on the table, adjusting for angle and position via the touchscreen.
3.Parameter Input: Use the control panel to enter angles (e.g., 90°), speeds, and pressures. The system simulates outcomes to prevent errors.
4.Initiate Bend: Press “Start” or use the pedal; maintain a safe distance to avoid pinch points.
5.Quality Check: Measure finished parts with calipers or gauges. If angles deviate (e.g., 89° instead of 90°), enter measurements into the calibration tool for auto-adjustments.
The CT12 CNC Press Brake’s oscilloscope feature via RFlink allows monitoring beam trajectories on a PC for fine-tuning.
Viewing the CT12 CNC Press Brake System Work Counter
Tracking usage helps with maintenance scheduling.
1.Press the “Menu” button on the control panel to access system settings.
2.Navigate to “Counters” or “Work Statistics” (may vary by firmware).
3.View details like total bend cycles, runtime hours, and part counts. Use the part counter for production tracking with auto-stop options.
4.Reset counters if needed via service mode (requires password).
These metrics aid in predictive maintenance, such as oil changes after set hours.
Operation Precautions: Safety Tips for CT12 CNC Press Brake System Users
Safety is paramount when operating the CT12 CNC Press Brake system.
1.Adhere to all operating regulations and wear protective gear (gloves, glasses).
2.Inspect material specs and quality pre-bend to avoid failures or damage.
3.Maintain a safe distance during operation; never reach into the bending zone.
4.Regularly check electrical components, safety PLCs, and guards for functionality.
5.Avoid modifications to parameters without expertise, as they can cause irregularities.
In emergencies, hit the stop buttons immediately. Comply with IEC61131-2 standards for inputs/outputs.
Common Problems and Solutions for CT12 CNC Press Brake System Issues
Encounter issues? Here’s how to resolve them.
1.Inaccurate Bend Angles: Verify parameters, sheet placement, and tools. Recalibrate by inputting measured angles into the system for corrections.
2.Machine Not Indexing: Clear indexation in user preferences and restart. Check for obstacles or wiring faults.
3.Pump or Beam Errors: If “Pump off” appears, restart the pump. For trajectory errors, inspect drives or friction points—contact a technician.
4.Collision Warnings: Adjust back gauge retraction or reprogram sequences to avoid tool clashes.
5.Overload or Timeout: Reset safety circuits and allow cooldown; ensure 24V I/O supply is stable.
For persistent problems like error codes (e.g., E58 for no motion), note details and consult Cybelec support.
CT12 CNC Press Brake FAQ: Answers to Common Questions
How to Maintain the CT12 CNC Press Brake System?
Perform daily cleaning, weekly checks for loose parts, and monthly oil/filter replacements. Schedule professional servicing per manufacturer guidelines to extend lifespan.
What to Do If Bending Results Are Poor?
Double-check parameters, material alignment, and tool selection. Use the calibration function and test bends; if unresolved, inspect hydraulics or seek expert help.
What Are Key Safety Precautions for the CT12 CNC Press Brake System?
Keep hands clear of moving parts, use emergency stops, and ensure safety devices (e.g., light curtains) are active. Train all operators on the manual to prevent accidents.
Through this detailed CT12 CNC Press Brake System operation guide, you now have the knowledge to handle the system confidently. Always prioritize safety, regular maintenance, and precise setups for superior results. For advanced features or updates, refer to the official Cybelec resources.

Metalworking specialist with 12 years of experience in sheet metal fabrication and press brake applications, certified by ASME.