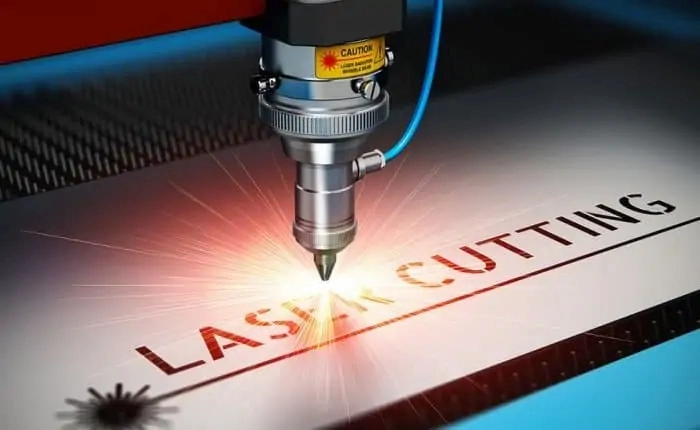
Laser Cutting Power and Frequency Adjustment Methods
Access the control panel or software. Set to 50% of rated power initially. For a 100W laser, this is 50W. Avoid exceeding 90% to prevent damage.
3.Test Cuts and Iteration
Run manual tests on scrap: Cut lines at varying powers. Evaluate speed (mm/s) and quality. Adjust in 10% increments, retesting until optimal (e.g., clean penetration without burn).
4.Automation and Fine-Tuning.
Switch to auto mode for jobs. Integrate feedback loops if available, like sensors for real-time power modulation.
5.Post-Adjustment Checks
- Verify with a wattmeter and document settings for future reference. This method ensures consistency across batches.
- Step-by-Step Guide to Adjusting Frequency on a Laser Cutting Machine Achieve precise frequency control with these steps:.
- 1.Measurement Baseline Use a built-in or external frequency meter to read current output. Note defaults (e.g., 20kHz).
- 2.Core Adjustments Modify galvo mirror position for resonance changes, or tweak Q-switch for pulse width. In software, input new Hz values.
3.Experimental Validation
Perform test patterns: Vary frequency in 5kHz steps. Assess cut smoothness and heat via thermal imaging if possible.
4.Optimization for Specific Tasks For piercing, set low (1-5kHz); for filling, high (10-50kHz). Iterate based on material feedback.
5.Safety and Maintenance Ensure no resonance issues cause vibrations. Clean optics post-adjustment to maintain efficiency.
Implementing this yields professional-grade outcomes.
Adjusting laser cutting power and frequency transforms basic operations into high-precision manufacturing. By following these methods—from direct controls to step-by-step guides—you gain practical solutions tailored to your needs. Experiment, document, and refine for consistent excellence. For further resources, consult manufacturer manuals or industry forums like the Laser Institute of America.
- blog laser cutting power.
- press brake safety Laser Cutting Power.
- Troubleshooting: If cuts are jagged, lower frequency; if slow, increase it while monitoring temperature.
These adjustments empower users to handle everything from intricate jewelry to large-scale sheet metal processing.
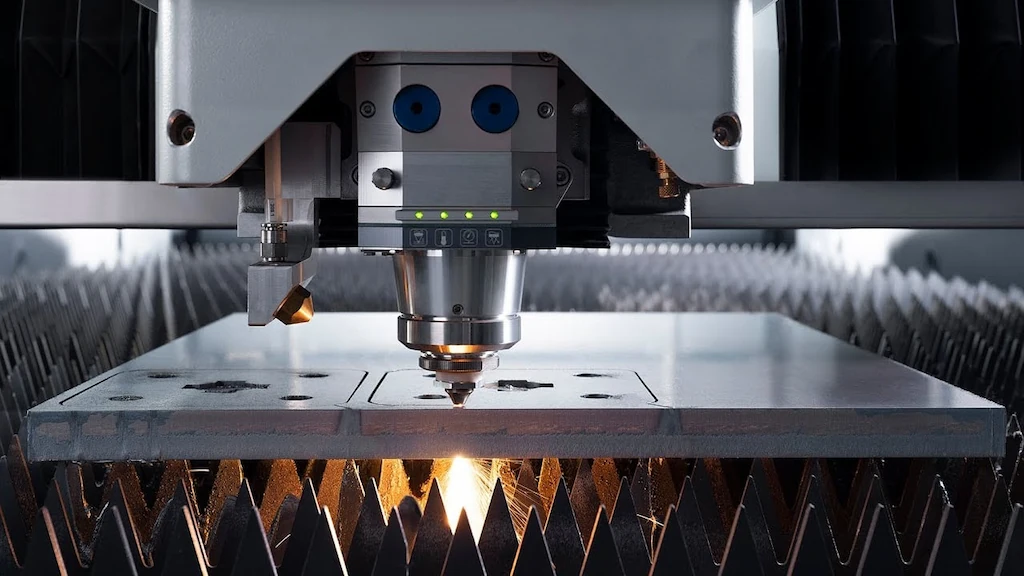
Impact of Power and Frequency on Cutting Quality
Power and frequency profoundly affect the final cut’s integrity, from edge smoothness to structural strength. Miscalibration leads to defects like burrs, dross, or cracks, while optimal settings deliver clean, precise results.
Power's Role in Quality.
Low Power Effects:
- Slow cutting may leave uncut sections in thick materials, increasing rework. It’s safer for thin, fragile items but inefficient for production. High Power Effects:.
- Rapid penetration but potential for overheating, causing melt pools, oxidation, or distortion. In metals, this manifests as rough edges; in woods, charring. Balance is crucial: For 5mm mild steel, 1kW at moderate speed yields straight kerfs without taper.
- Frequency's Role in Quality Low Frequency Effects:.
- Intermittent pulses create notched cuts, useful for perforation but poor for seamless edges. High Frequency Effects:.
Quasi-continuous beam smooths surfaces but risks excessive heat, leading to recast layers or micro-cracks.
In practice, for acrylic, 10kHz minimizes striations; for leather, 1kHz prevents burning.
Combined Effects and Mitigation A synergy exists: High power with low frequency suits thick cuts; low power with high frequency excels in detailing. Use tables for quick reference:.
Recommended Power (W) Recommended Frequency (kHz).
Expected Quality.
Stainless Steel (3mm)
- Smooth edges, minimal HAZ Acrylic (5mm).
- Clear cuts, no melting Wood (10mm).
- Even char, precise shapes Monitor via post-cut inspections: Measure roughness with profilometers and adjust iteratively.
Step-by-Step Guide to Adjusting Power on a Laser Cutting Machine.
Follow this structured process for safe, effective power tuning:
1.Preparation and Preheating.
Power on the machine and allow 10-15 minutes for stabilization. Ensure ventilation and secure the workpiece.
- 2.Initial Power Setting Access the control panel or software. Set to 50% of rated power initially. For a 100W laser, this is 50W. Avoid exceeding 90% to prevent damage.
- 3.Test Cuts and Iteration Run manual tests on scrap: Cut lines at varying powers. Evaluate speed (mm/s) and quality. Adjust in 10% increments, retesting until optimal (e.g., clean penetration without burn).
4.Automation and Fine-Tuning.
Switch to auto mode for jobs. Integrate feedback loops if available, like sensors for real-time power modulation.
- 5.Post-Adjustment Checks Verify with a wattmeter and document settings for future reference.
- This method ensures consistency across batches. Step-by-Step Guide to Adjusting Frequency on a Laser Cutting Machine.
Achieve precise frequency control with these steps:.
1.Measurement Baseline
Use a built-in or external frequency meter to read current output. Note defaults (e.g., 20kHz).
The punch angle must compensate for springback—materials “bounce back” after bending. For stainless, overbend by 2-5 degrees. Acute punches handle <90° angles, while standard ones suit broader needs. Ensure the angle aligns with the die; mismatch causes uneven bends. | Modify galvo mirror position for resonance changes, or tweak Q-switch for pulse width. In software, input new Hz values. | 3.Experimental Validation | Perform test patterns: Vary frequency in 5kHz steps. Assess cut smoothness and heat via thermal imaging if possible. |
4.Optimization for Specific Tasks | 1000-2000 | 5-10 | For piercing, set low (1-5kHz); for filling, high (10-50kHz). Iterate based on material feedback. |
5.Safety and Maintenance | 50-100 | 10-20 | Ensure no resonance issues cause vibrations. Clean optics post-adjustment to maintain efficiency. |
Implementing this yields professional-grade outcomes. | 80-150 | 1-5 | Adjusting laser cutting power and frequency transforms basic operations into high-precision manufacturing. By following these methods—from direct controls to step-by-step guides—you gain practical solutions tailored to your needs. Experiment, document, and refine for consistent excellence. For further resources, consult manufacturer manuals or industry forums like the Laser Institute of America. |
Read more about Principle and Function of Press Brake Safety Protection System.

Read more about Press Brake Maintenance and Repair
Read more about Practical Methods for Press Brake Accuracy with Long Term Precision
Read more about Practical Guidance For Press Brake Operation Read more about How to Properly Install a Press Brake Machine.
laser cutting power コントロールパネルまたはソフトウェアにアクセスします。初期設定は定格出力の50%に設定します。100Wレーザーの場合、これは50Wです。損傷を防ぐため、90%を超えないようにしてください。.
3.テストカットと反復 端材で手動テストを実行します。様々な出力で線をカットします。速度 (mm/s) と品質を評価します。最適な状態 (例: 焦げ付きのないきれいな貫通) になるまで、10%刻みで調整し、再テストします。.
4.自動化と微調整 作業には自動モードに切り替えます。リアルタイムの出力変調のためのセンサーなど、利用可能な場合はフィードバックループを統合します。.
5.調整後の確認 ワットメーターで確認し、将来の参照のために設定を文書化します。.
この方法は、バッチ間の整合性を保証します。.
レーザー切断機の周波数調整ステップバイステップガイド
これらの手順で正確な周波数制御を実現します。
1.測定基準 内蔵または外部の周波数計を使用して現在の出力を読み取ります。デフォルト値 (例: 20kHz) をメモします。.
2.コア調整 共振の変化のためにガルバノミラーの位置を変更するか、パルス幅のためにQスイッチを微調整します。ソフトウェアで新しいHz値を入力します。.
3.実験的検証 テストパターンを実行します。周波数を5kHz刻みで変更します。可能であれば、熱画像を使用してカットの滑らかさと熱を評価します。.
4.特定のタスクの最適化 穴あけには低周波数(1-5kHz)、充填には高周波数(10-50kHz)を設定します。材料のフィードバックに基づいて繰り返します。.
5.安全とメンテナンス 共振による振動が発生しないことを確認してください。効率を維持するために、調整後に光学部品を清掃してください。.
これを実装することで、プロフェッショナルな結果が得られます。.
Press brake maintenance and repair should be viewed as an ongoing process rather than a reaction to failure. Proper lubrication, careful hydraulic system management, and regular mechanical inspection form the foundation of reliable machine operation. These practices not only reduce downtime but also help maintain consistent bending accuracy over the machine’s service life.
レーザー切断の出力と周波数を調整することで、基本的な操作が高精度な製造へと変わります。直接制御から段階的なガイドまで、これらの方法に従うことで、ニーズに合わせた実践的なソリューションが得られます。一貫した卓越性を得るために、実験し、記録し、改良してください。さらなるリソースについては、メーカーのマニュアルや、Laser Institute of Americaのような業界フォーラムを参照してください。.

V-Grooving Machine
- Press Brake
- Laser Cutting Machine
- Shearing Machine
- Press Brake Safety Precautions: Complete Guide for Safe Operation and Maintenance
- Hydraulic Press Machine
- Read more about Practical Methods for Press Brake Accuracy with Long Term Precision
- Rolling Machine
- Ironworker
- Press Brake Tooling
- Machinery Accessories