Laser Cutting Power and Frequency Adjustment Methods
Access the control panel or software. Set to 50% of rated power initially. For a 100W laser, this is 50W. Avoid exceeding 90% to prevent damage.
3.Test Cuts and Iteration
Run manual tests on scrap: Cut lines at varying powers. Evaluate speed (mm/s) and quality. Adjust in 10% increments, retesting until optimal (e.g., clean penetration without burn).
4.Automation and Fine-Tuning.
Switch to auto mode for jobs. Integrate feedback loops if available, like sensors for real-time power modulation.
5.Post-Adjustment Checks
- Verify with a wattmeter and document settings for future reference. This method ensures consistency across batches.
- Step-by-Step Guide to Adjusting Frequency on a Laser Cutting Machine Achieve precise frequency control with these steps:.
- 1.Measurement Baseline Use a built-in or external frequency meter to read current output. Note defaults (e.g., 20kHz).
- 2.Core Adjustments Modify galvo mirror position for resonance changes, or tweak Q-switch for pulse width. In software, input new Hz values.
3.Experimental Validation
Perform test patterns: Vary frequency in 5kHz steps. Assess cut smoothness and heat via thermal imaging if possible.
4.Optimization for Specific Tasks For piercing, set low (1-5kHz); for filling, high (10-50kHz). Iterate based on material feedback.
5.Safety and Maintenance Ensure no resonance issues cause vibrations. Clean optics post-adjustment to maintain efficiency.
Implementing this yields professional-grade outcomes.
Conclusion
- Adjusting laser cutting power and frequency transforms basic operations into high-precision manufacturing. By following these methods—from direct controls to step-by-step guides—you gain practical solutions tailored to your needs. Experiment, document, and refine for consistent excellence. For further resources, consult manufacturer manuals or industry forums like the Laser Institute of America. Jane Smith.
- Metalworking specialist with 12 years of experience in sheet metal fabrication and press brake applications, certified by ASME. All Products.
- V-Grooving Machine Punchine Machine.
Related News.
How to Properly Install a Press Brake Machine
Press Brake Safety Precautions: Complete Guide for Safe Operation and Maintenance.
blog.
laser cutting power
- press brake machine press brake safety.
- Laser Cutting Power Recommended Frequency (kHz).
- Expected Quality Stainless Steel (3mm).
- Smooth edges, minimal HAZ Acrylic (5mm).
Clear cuts, no melting
Wood (10mm)
Even char, precise shapes Monitor via post-cut inspections: Measure roughness with profilometers and adjust iteratively.
Step-by-Step Guide to Adjusting Power on a Laser Cutting Machine Follow this structured process for safe, effective power tuning:.
1.Preparation and Preheating.
Power on the machine and allow 10-15 minutes for stabilization. Ensure ventilation and secure the workpiece.
- 2.Initial Power Setting Access the control panel or software. Set to 50% of rated power initially. For a 100W laser, this is 50W. Avoid exceeding 90% to prevent damage.
- 3.Test Cuts and Iteration Run manual tests on scrap: Cut lines at varying powers. Evaluate speed (mm/s) and quality. Adjust in 10% increments, retesting until optimal (e.g., clean penetration without burn).
- 4.Automation and Fine-Tuning Switch to auto mode for jobs. Integrate feedback loops if available, like sensors for real-time power modulation.
5.Post-Adjustment Checks.
Verify with a wattmeter and document settings for future reference.
This method ensures consistency across batches.
Step-by-Step Guide to Adjusting Frequency on a Laser Cutting Machine
- Achieve precise frequency control with these steps: 1.Measurement Baseline.
- Use a built-in or external frequency meter to read current output. Note defaults (e.g., 20kHz). 2.Core Adjustments.
Modify galvo mirror position for resonance changes, or tweak Q-switch for pulse width. In software, input new Hz values.
3.Experimental Validation
- Perform test patterns: Vary frequency in 5kHz steps. Assess cut smoothness and heat via thermal imaging if possible. 4.Optimization for Specific Tasks.
- For piercing, set low (1-5kHz); for filling, high (10-50kHz). Iterate based on material feedback. 5.Safety and Maintenance.
Ensure no resonance issues cause vibrations. Clean optics post-adjustment to maintain efficiency.
Implementing this yields professional-grade outcomes.
Adjusting laser cutting power and frequency transforms basic operations into high-precision manufacturing. By following these methods—from direct controls to step-by-step guides—you gain practical solutions tailored to your needs. Experiment, document, and refine for consistent excellence. For further resources, consult manufacturer manuals or industry forums like the Laser Institute of America.
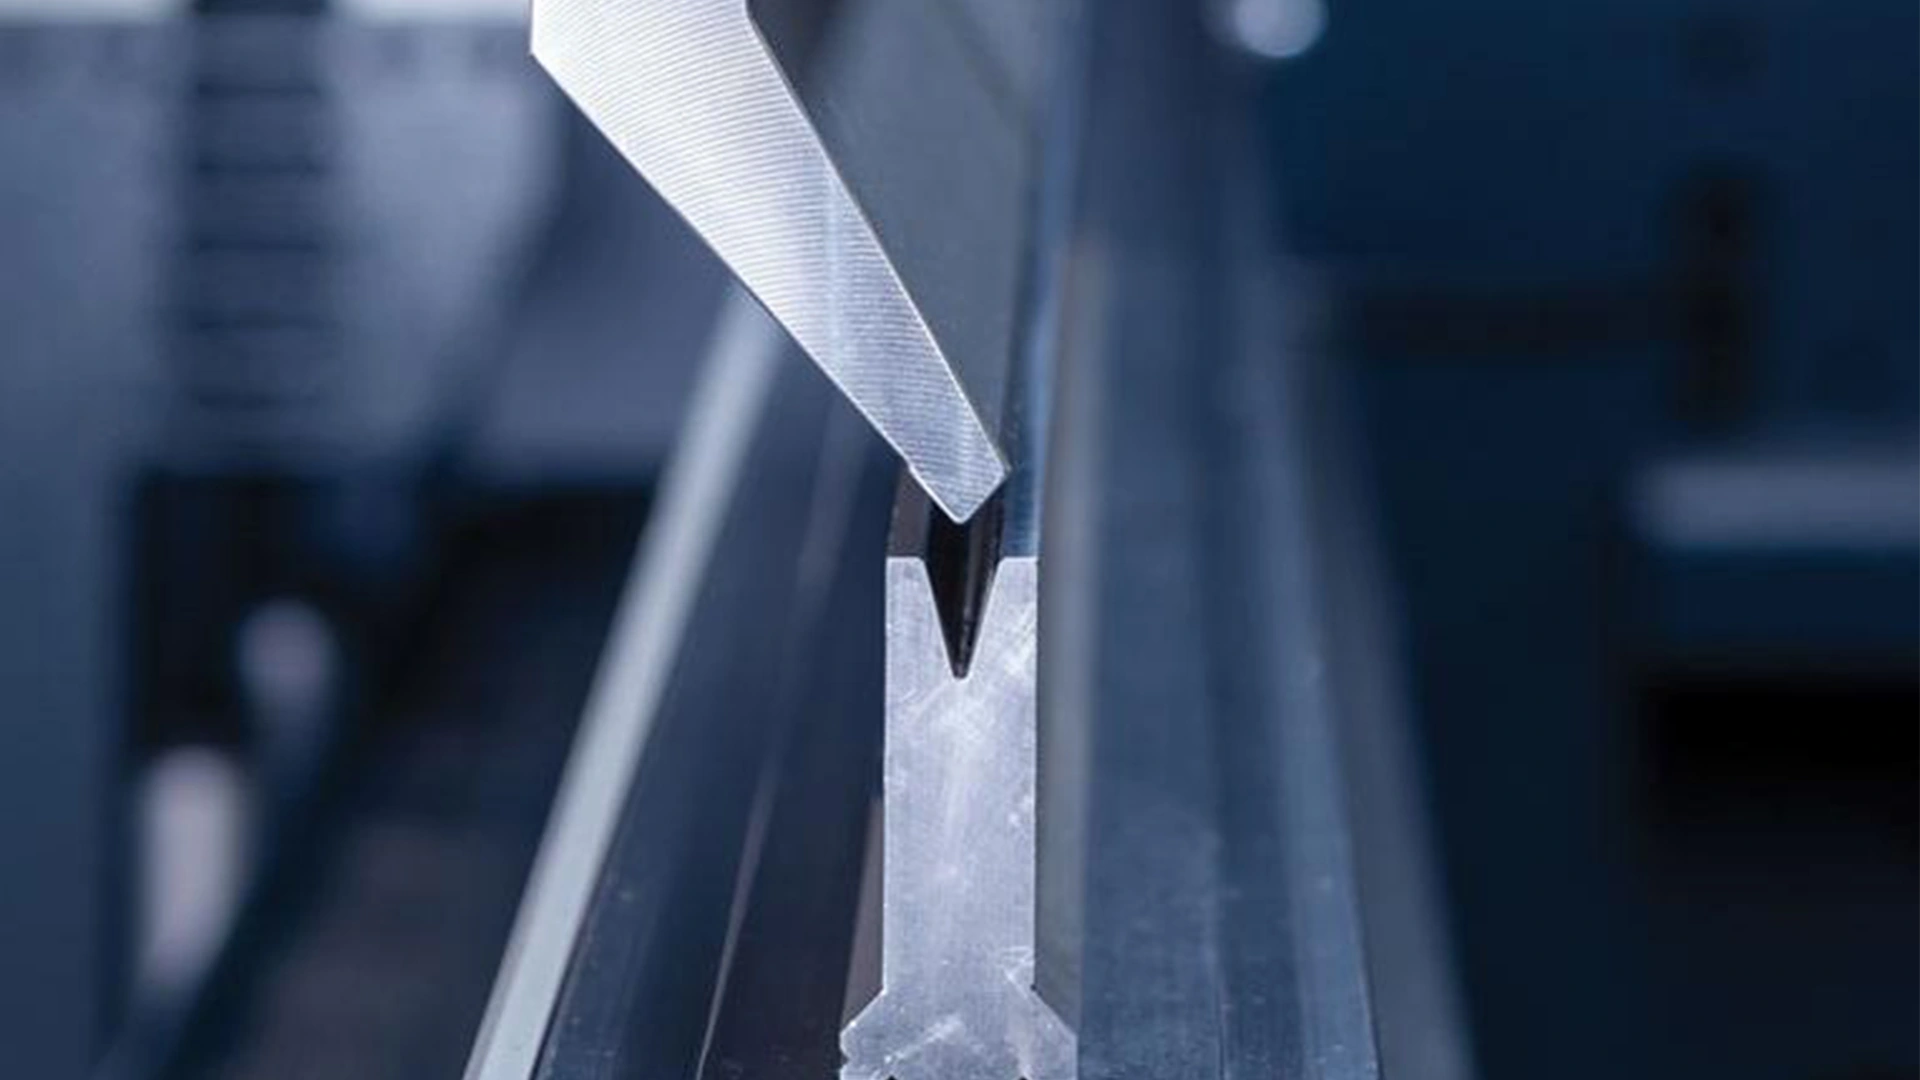
The punch angle must compensate for springback—materials “bounce back” after bending. For stainless, overbend by 2-5 degrees. Acute punches handle <90° angles, while standard ones suit broader needs. Ensure the angle aligns with the die; mismatch causes uneven bends. | Read more about Press Brake Maintenance and Repair | Read more about Practical Methods for Press Brake Accuracy with Long Term Precision | Read more about Practical Guidance For Press Brake Operation |
Read more about How to Properly Install a Press Brake Machine | 1000-2000 | 5-10 | laser cutting power |
Acrílico (5mm) | 50-100 | 10-20 | Cortes limpios, sin derretimiento |
Madera (10mm) | 80-150 | 1-5 | Carbonización uniforme, formas precisas |
Monitorear mediante inspecciones post-corte: Medir la rugosidad con perfilómetros y ajustar iterativamente.

Guía paso a paso para ajustar la potencia en una máquina de corte por láser
Siga este proceso estructurado para un ajuste de potencia seguro y efectivo:
1.Preparación y precalentamiento Encienda la máquina y espere de 10 a 15 minutos para su estabilización. Asegure la ventilación y fije la pieza de trabajo.
2.Configuración inicial de potencia Acceda al panel de control o software. Configure inicialmente al 50% de la potencia nominal. Para un láser de 100W, esto es 50W. Evite exceder el 90% para prevenir daños.
3.Cortes de prueba e iteración Realice pruebas manuales en material de desecho: Corte líneas con potencias variables. Evalúe la velocidad (mm/s) y la calidad. Ajuste en incrementos del 10%, volviendo a probar hasta alcanzar el óptimo (ej., penetración limpia sin quemaduras).
4.Automatización y ajuste fino Cambie al modo automático para los trabajos. Integre bucles de retroalimentación si están disponibles, como sensores para la modulación de potencia en tiempo real.
5.Verificaciones post-ajuste Verificar con un vatímetro y documentar los ajustes para futuras referencias.
Este método asegura la consistencia entre lotes.
Guía paso a paso para ajustar la frecuencia en una máquina de corte por láser
Logre un control preciso de la frecuencia con estos pasos:
1.Línea base de medición Utilice un frecuencímetro incorporado o externo para leer la salida actual. Anote los valores predeterminados (por ejemplo, 20kHz).
2.Ajustes principales Modifique la posición del espejo galvo para cambios de resonancia, o ajuste el Q-switch para el ancho de pulso. En el software, introduzca nuevos valores de Hz.
3.Validación experimental Realice patrones de prueba: Varíe la frecuencia en pasos de 5kHz. Evalúe la suavidad del corte y el calor mediante imágenes térmicas si es posible.
4.Optimización para tareas específicas Para perforar, ajuste bajo (1-5kHz); para rellenar, alto (10-50kHz). Itere basándose en la retroalimentación del material.
5.Seguridad y mantenimiento Asegúrese de que no haya problemas de resonancia que causen vibraciones. Limpie la óptica después del ajuste para mantener la eficiencia.
La implementación de esto produce resultados de calidad profesional.
Press brake maintenance and repair should be viewed as an ongoing process rather than a reaction to failure. Proper lubrication, careful hydraulic system management, and regular mechanical inspection form the foundation of reliable machine operation. These practices not only reduce downtime but also help maintain consistent bending accuracy over the machine’s service life.
Ajustar la potencia y la frecuencia del corte por láser transforma las operaciones básicas en fabricación de alta precisión. Siguiendo estos métodos —desde controles directos hasta guías paso a paso— obtendrá soluciones prácticas adaptadas a sus necesidades. Experimente, documente y refine para una excelencia constante. Para recursos adicionales, consulte los manuales del fabricante o foros de la industria como el Laser Institute of America.

V-Grooving Machine
- Press Brake
- Laser Cutting Machine
- Shearing Machine
- Press Brake Safety Precautions: Complete Guide for Safe Operation and Maintenance
- Hydraulic Press Machine
- Read more about Practical Methods for Press Brake Accuracy with Long Term Precision
- Rolling Machine
- Ironworker
- Press Brake Tooling
- Machinery Accessories