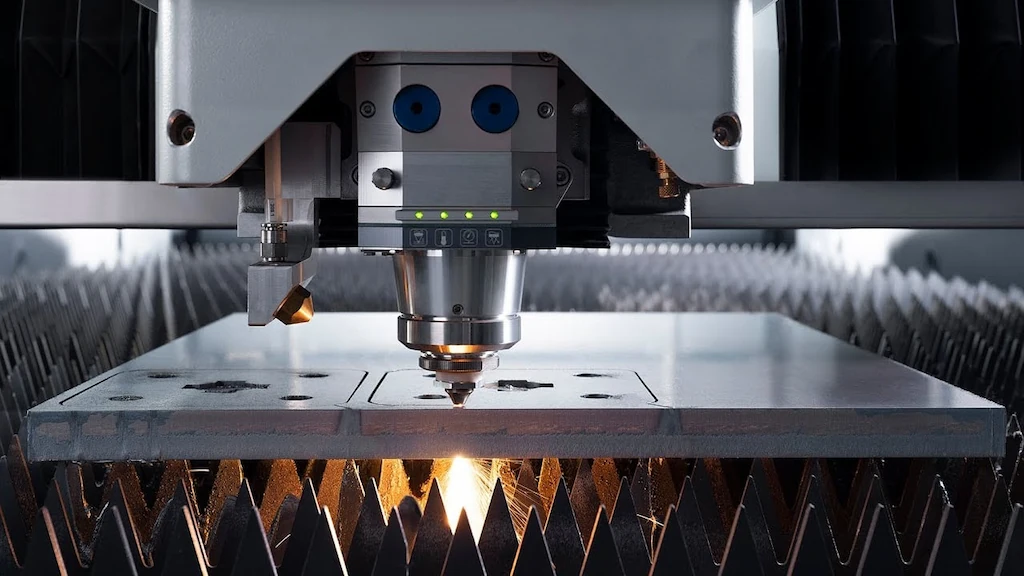
Laser Cutting Power and Frequency Adjustment Methods
Access the control panel or software. Set to 50% of rated power initially. For a 100W laser, this is 50W. Avoid exceeding 90% to prevent damage.
3.Test Cuts and Iteration
Run manual tests on scrap: Cut lines at varying powers. Evaluate speed (mm/s) and quality. Adjust in 10% increments, retesting until optimal (e.g., clean penetration without burn).
4.Automation and Fine-Tuning.
Switch to auto mode for jobs. Integrate feedback loops if available, like sensors for real-time power modulation.
5.Post-Adjustment Checks
- Verify with a wattmeter and document settings for future reference. This method ensures consistency across batches.
- Step-by-Step Guide to Adjusting Frequency on a Laser Cutting Machine Achieve precise frequency control with these steps:.
- 1.Measurement Baseline Use a built-in or external frequency meter to read current output. Note defaults (e.g., 20kHz).
- 2.Core Adjustments Modify galvo mirror position for resonance changes, or tweak Q-switch for pulse width. In software, input new Hz values.
3.Experimental Validation
Perform test patterns: Vary frequency in 5kHz steps. Assess cut smoothness and heat via thermal imaging if possible.
4.Optimization for Specific Tasks For piercing, set low (1-5kHz); for filling, high (10-50kHz). Iterate based on material feedback.
5.Safety and Maintenance Ensure no resonance issues cause vibrations. Clean optics post-adjustment to maintain efficiency.
Implementing this yields professional-grade outcomes.
Adjusting laser cutting power and frequency transforms basic operations into high-precision manufacturing. By following these methods—from direct controls to step-by-step guides—you gain practical solutions tailored to your needs. Experiment, document, and refine for consistent excellence. For further resources, consult manufacturer manuals or industry forums like the Laser Institute of America.
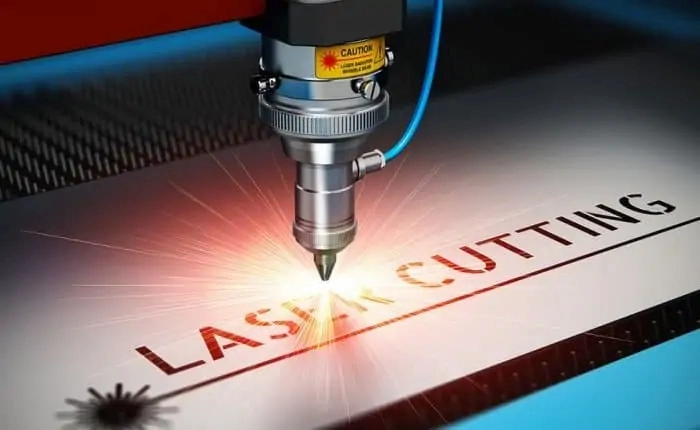
- laser cutting power Laser Cutting Power.
- Testing Protocols: Run frequency sweeps on test pieces, monitoring kerf width (cut slot size) with calipers.
- Advanced Features: Some machines offer Q-switching for ultra-short pulses, enabling frequencies up to MHz for minimal HAZ.
Troubleshooting:.
If cuts are jagged, lower frequency; if slow, increase it while monitoring temperature.
These adjustments empower users to handle everything from intricate jewelry to large-scale sheet metal processing.
Impact of Power and Frequency on Cutting Quality.
Power and frequency profoundly affect the final cut’s integrity, from edge smoothness to structural strength. Miscalibration leads to defects like burrs, dross, or cracks, while optimal settings deliver clean, precise results.
- Power's Role in Quality Low Power Effects:.
- Slow cutting may leave uncut sections in thick materials, increasing rework. It’s safer for thin, fragile items but inefficient for production. High Power Effects:.
- Rapid penetration but potential for overheating, causing melt pools, oxidation, or distortion. In metals, this manifests as rough edges; in woods, charring. Balance is crucial: For 5mm mild steel, 1kW at moderate speed yields straight kerfs without taper.
- Frequency's Role in Quality Low Frequency Effects:.
Intermittent pulses create notched cuts, useful for perforation but poor for seamless edges.
High Frequency Effects:
Quasi-continuous beam smooths surfaces but risks excessive heat, leading to recast layers or micro-cracks. In practice, for acrylic, 10kHz minimizes striations; for leather, 1kHz prevents burning.
Combined Effects and Mitigation A synergy exists: High power with low frequency suits thick cuts; low power with high frequency excels in detailing. Use tables for quick reference:.
Material.
Recommended Power (W)
- Recommended Frequency (kHz) Expected Quality.
- Stainless Steel (3mm) Smooth edges, minimal HAZ.
- Acrylic (5mm) Clear cuts, no melting.
Wood (10mm).
Even char, precise shapes
Monitor via post-cut inspections: Measure roughness with profilometers and adjust iteratively.
Step-by-Step Guide to Adjusting Power on a Laser Cutting Machine
- Follow this structured process for safe, effective power tuning: 1.Preparation and Preheating.
- Power on the machine and allow 10-15 minutes for stabilization. Ensure ventilation and secure the workpiece. 2.Initial Power Setting.
Access the control panel or software. Set to 50% of rated power initially. For a 100W laser, this is 50W. Avoid exceeding 90% to prevent damage.
3.Test Cuts and Iteration
- Run manual tests on scrap: Cut lines at varying powers. Evaluate speed (mm/s) and quality. Adjust in 10% increments, retesting until optimal (e.g., clean penetration without burn). 4.Automation and Fine-Tuning.
- Switch to auto mode for jobs. Integrate feedback loops if available, like sensors for real-time power modulation. 5.Post-Adjustment Checks.
Verify with a wattmeter and document settings for future reference.
This method ensures consistency across batches.
Step-by-Step Guide to Adjusting Frequency on a Laser Cutting Machine
Achieve precise frequency control with these steps: | 1.Measurement Baseline | Use a built-in or external frequency meter to read current output. Note defaults (e.g., 20kHz). | 2.Core Adjustments |
Modify galvo mirror position for resonance changes, or tweak Q-switch for pulse width. In software, input new Hz values. | 1000-2000 | 5-10 | 3.Experimental Validation |
Perform test patterns: Vary frequency in 5kHz steps. Assess cut smoothness and heat via thermal imaging if possible. | 50-100 | 10-20 | 4.Optimization for Specific Tasks |
For piercing, set low (1-5kHz); for filling, high (10-50kHz). Iterate based on material feedback. | 80-150 | 1-5 | 5.Safety and Maintenance |
Ensure no resonance issues cause vibrations. Clean optics post-adjustment to maintain efficiency.

Implementing this yields professional-grade outcomes.
Adjusting laser cutting power and frequency transforms basic operations into high-precision manufacturing. By following these methods—from direct controls to step-by-step guides—you gain practical solutions tailored to your needs. Experiment, document, and refine for consistent excellence. For further resources, consult manufacturer manuals or industry forums like the Laser Institute of America.
Read more about Principle and Function of Press Brake Safety Protection System Read more about Press Brake Maintenance and Repair.
Read more about Practical Methods for Press Brake Accuracy with Long Term Precision Read more about Practical Guidance For Press Brake Operation.
Read more about How to Properly Install a Press Brake Machine laser cutting power.
4.Automation and Fine-Tuning Switch to auto mode for jobs. Integrate feedback loops if available, like sensors for real-time power modulation.
5.Post-Adjustment Checks Verify with a wattmeter and document settings for future reference.
This method ensures consistency across batches.
Step-by-Step Guide to Adjusting Frequency on a Laser Cutting Machine
Achieve precise frequency control with these steps:
1.Measurement Baseline Use a built-in or external frequency meter to read current output. Note defaults (e.g., 20kHz).
2.Core Adjustments Modify galvo mirror position for resonance changes, or tweak Q-switch for pulse width. In software, input new Hz values.
3.Experimental Validation Perform test patterns: Vary frequency in 5kHz steps. Assess cut smoothness and heat via thermal imaging if possible.
4.Optimization for Specific Tasks For piercing, set low (1-5kHz); for filling, high (10-50kHz). Iterate based on material feedback.
5.Safety and Maintenance Ensure no resonance issues cause vibrations. Clean optics post-adjustment to maintain efficiency.
Implementing this yields professional-grade outcomes.
Conclusion
Adjusting laser cutting power and frequency transforms basic operations into high-precision manufacturing. By following these methods—from direct controls to step-by-step guides—you gain practical solutions tailored to your needs. Experiment, document, and refine for consistent excellence. For further resources, consult manufacturer manuals or industry forums like the Laser Institute of America.

Metalworking specialist with 12 years of experience in sheet metal fabrication and press brake applications, certified by ASME.